Version 0.9.5 - 03.06.2019
- Parameter change highlighting enabled for all draw menus: Outlets, Switches, Lights, Low Voltage, Panels, and Safety Devices.
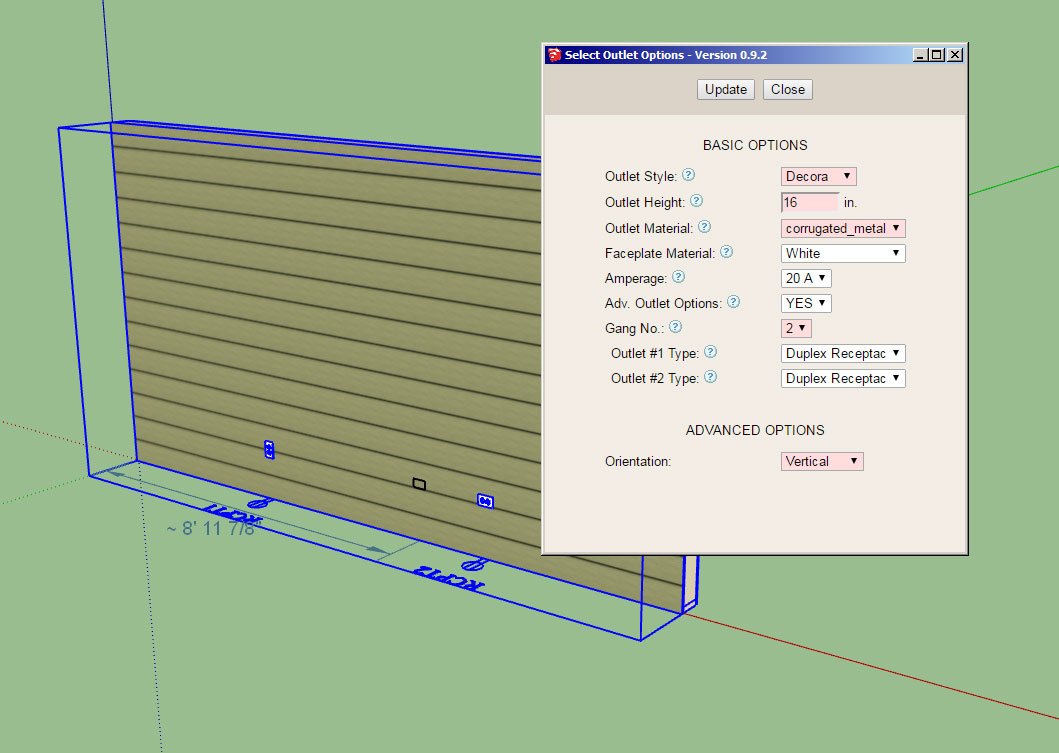
If this change is well received then I will make the same feature available with the other plugins.
- Parameter change highlighting enabled for all draw menus: Outlets, Switches, Lights, Low Voltage, Panels, and Safety Devices.
If this change is well received then I will make the same feature available with the other plugins.